3. Built Up Settlement Map
Have more questions? Contact hello@atlasai.co
Product Description
A vector representation of the built-up surface, spatially aggregated within a 50m radius.
Product Information
Data type: N/A
Min/max values: N/A
Value definitions: N/A
Spatial representation: Vector polygons
Spatial resolution: N/A
CRS: EPSG:4326
Vintage: 2021
Visualization Guidance
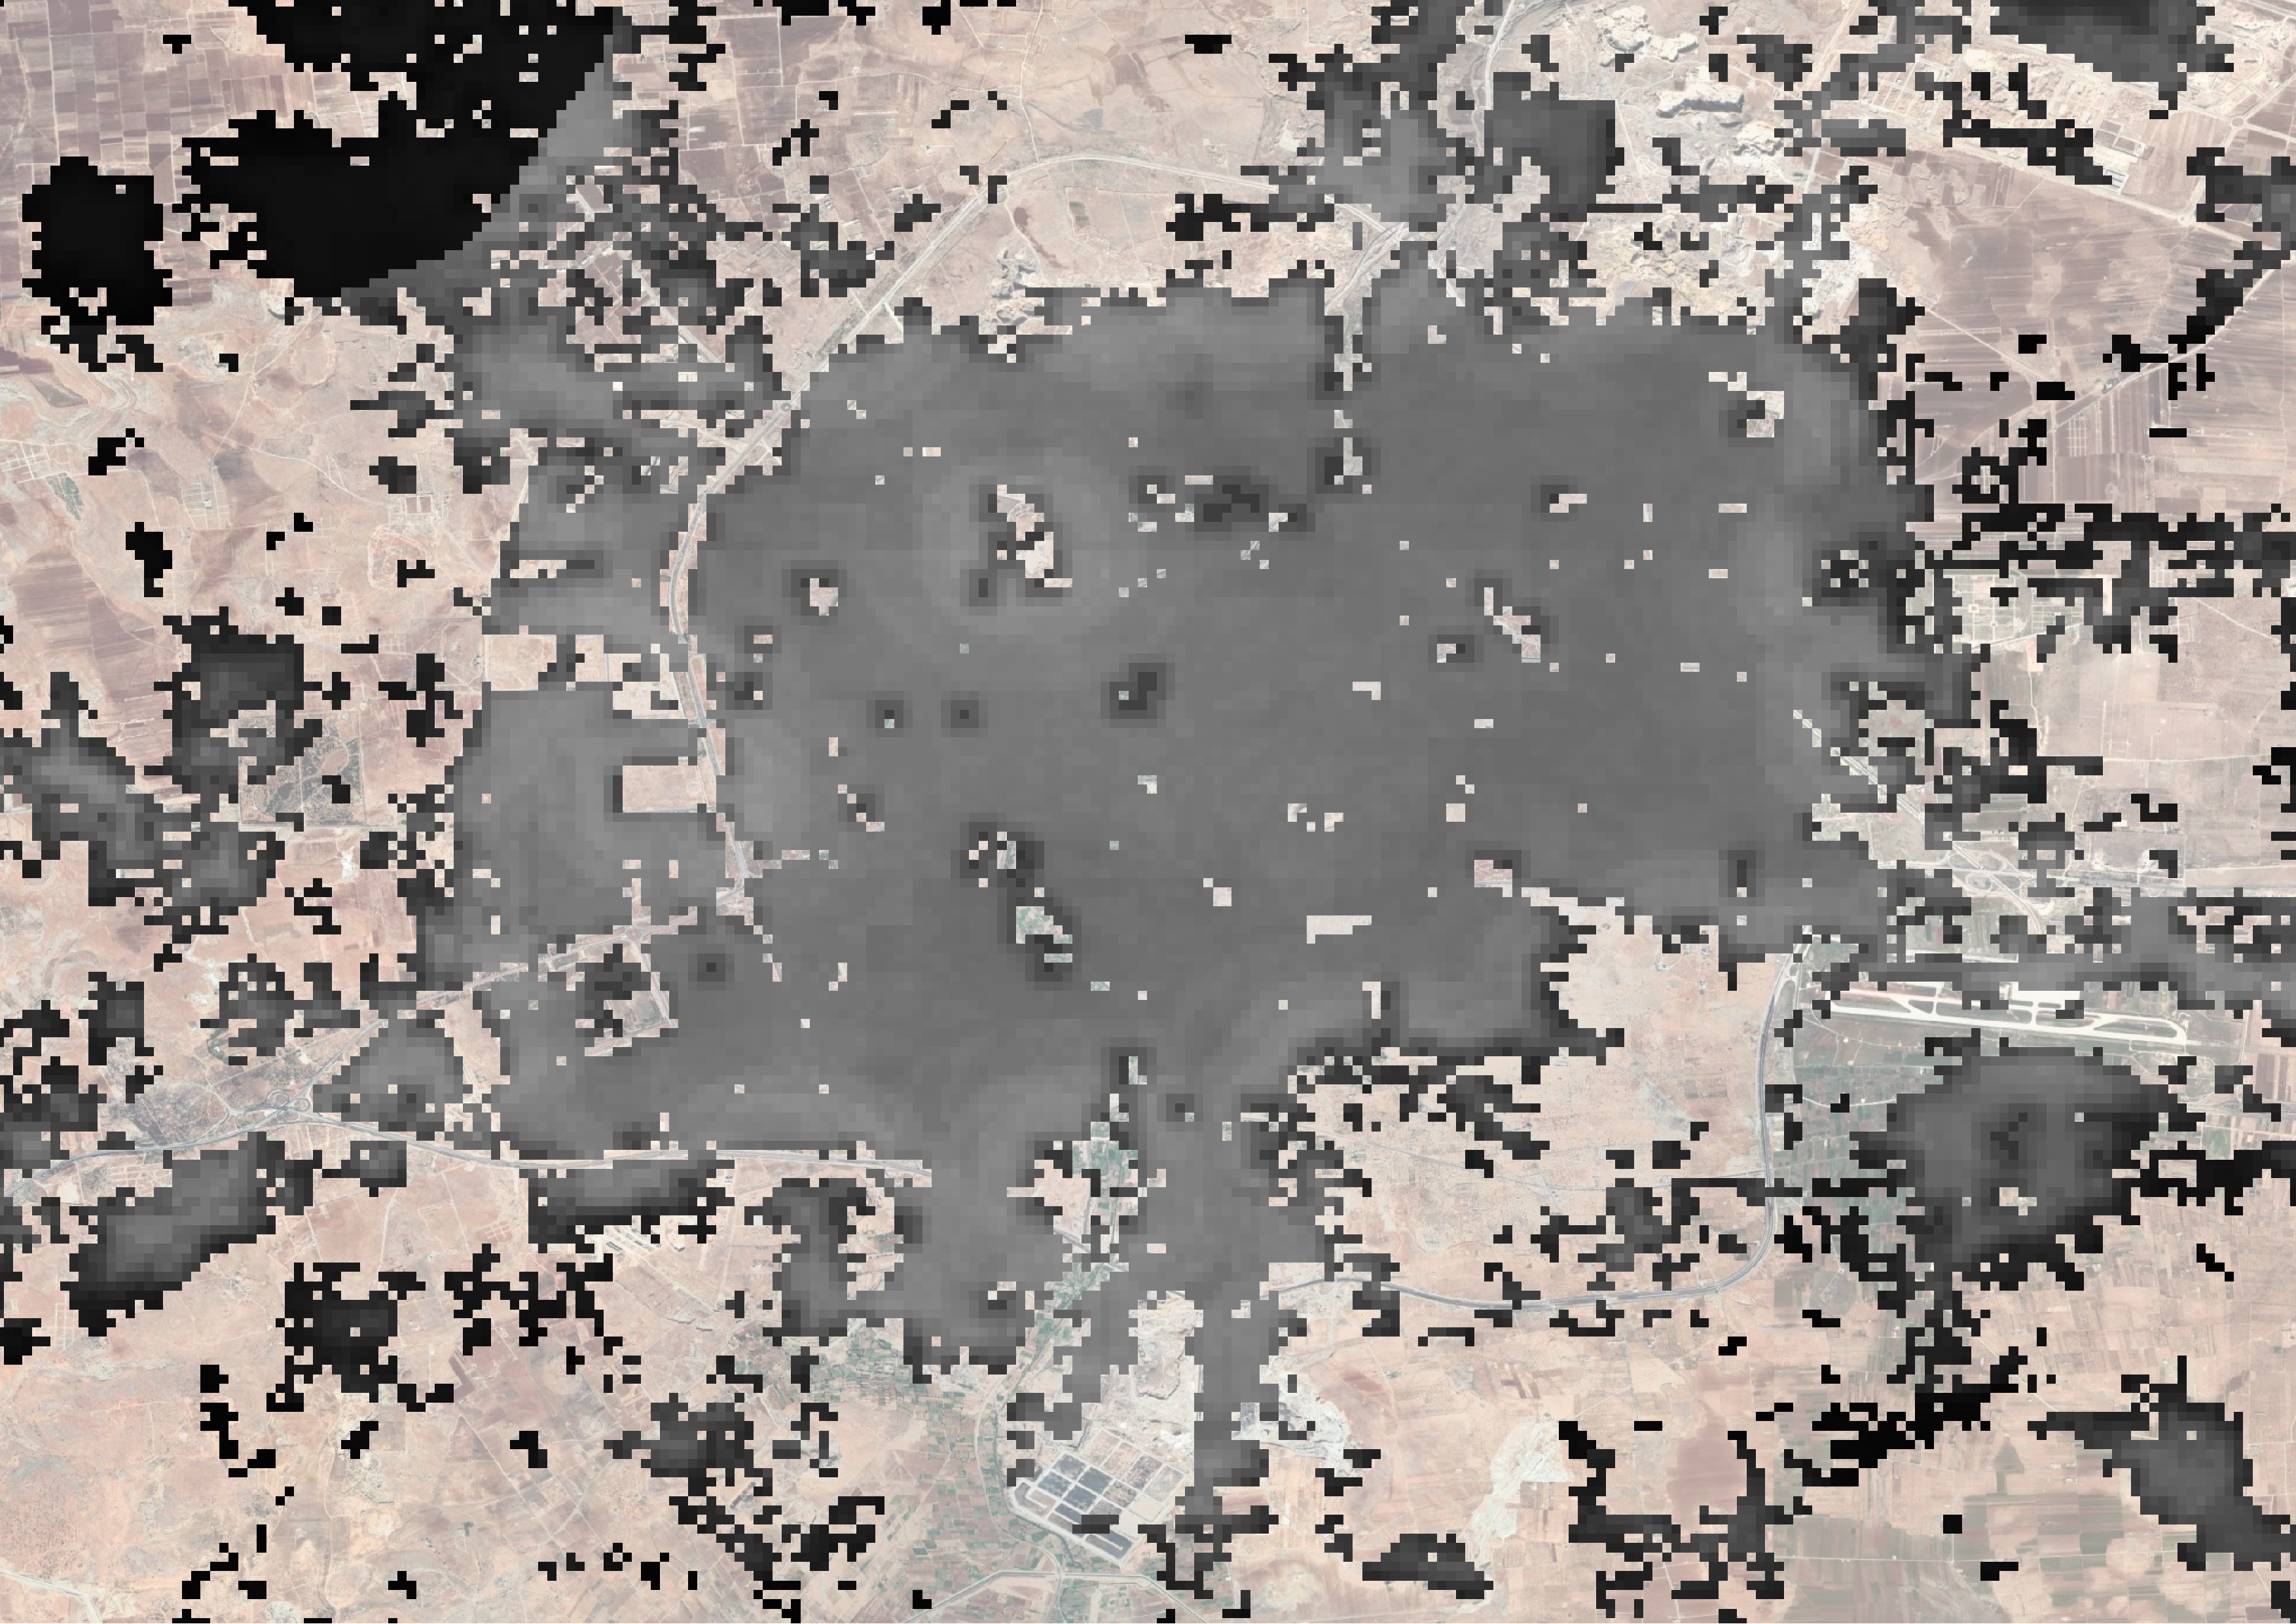
After opening the vector file in QGIS (or other Geographic Information System), the layer symbology defaults to a solid, (randomly) colored fill and black stroke (as seen in the image below).

By setting the "Fill stye" to "No brush" it is possible to view satellite imagery beneath the Built Up Settlement Map layer polygons
-
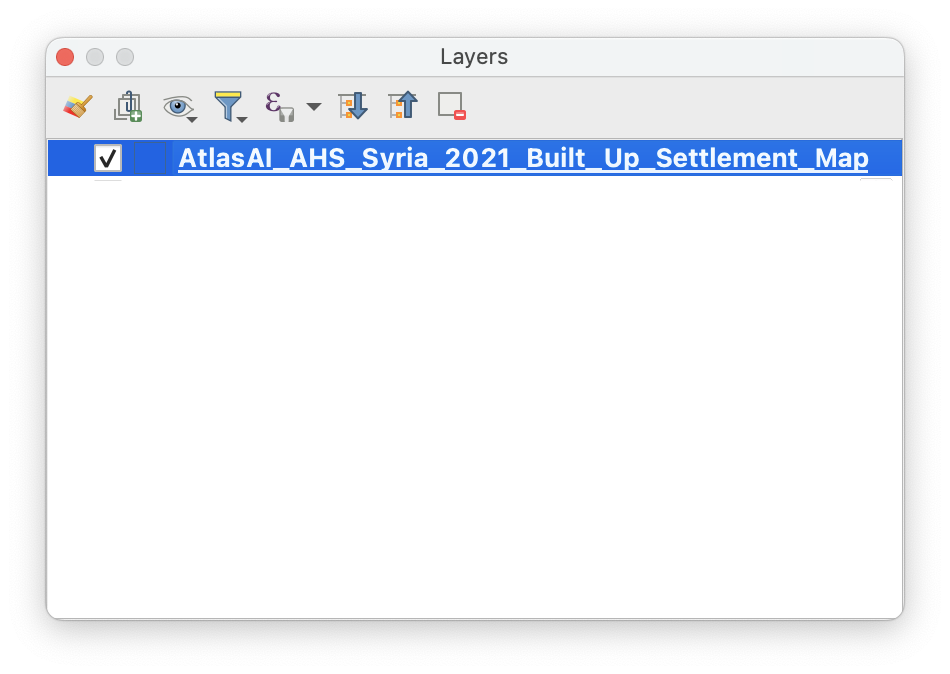
First, open the Layer Properties window by double clicking on the layer in the Layers panel
-
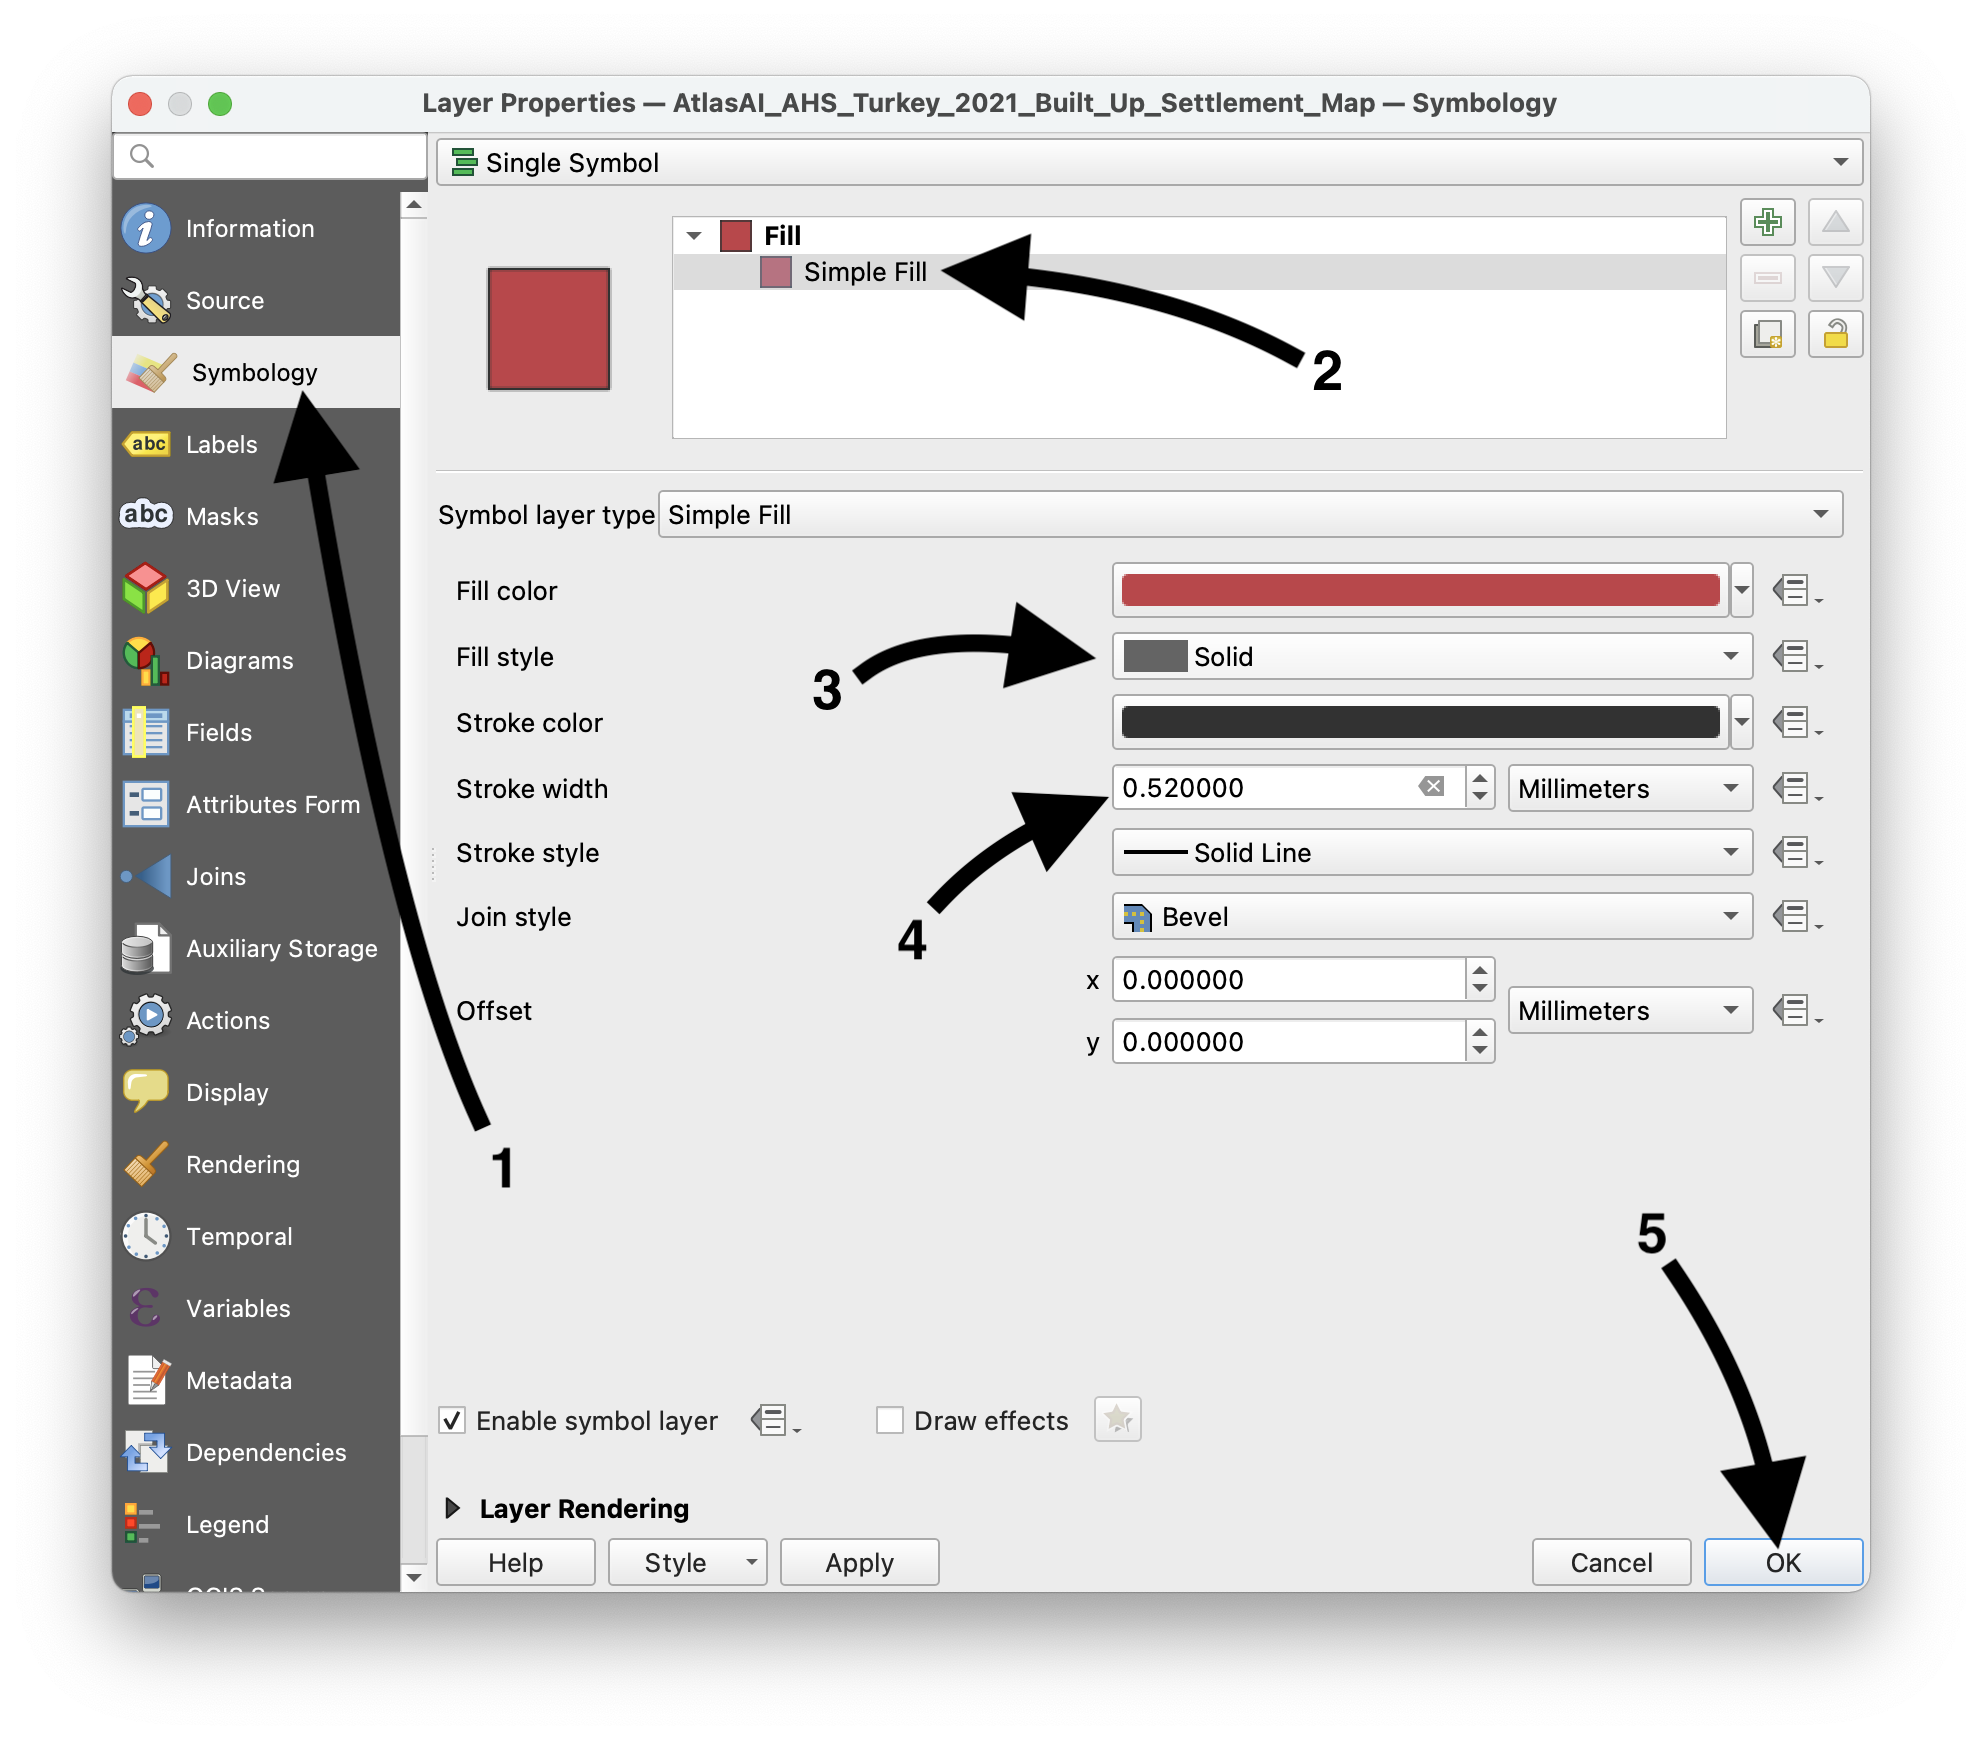
Second, open the Symbology tab (1), select "Simple Fill" (2), change the "Fill style" option from "Solid" to "No brush" (3), optionally increase the "Stroke width" to improve visualization (4) and click "OK" (5)
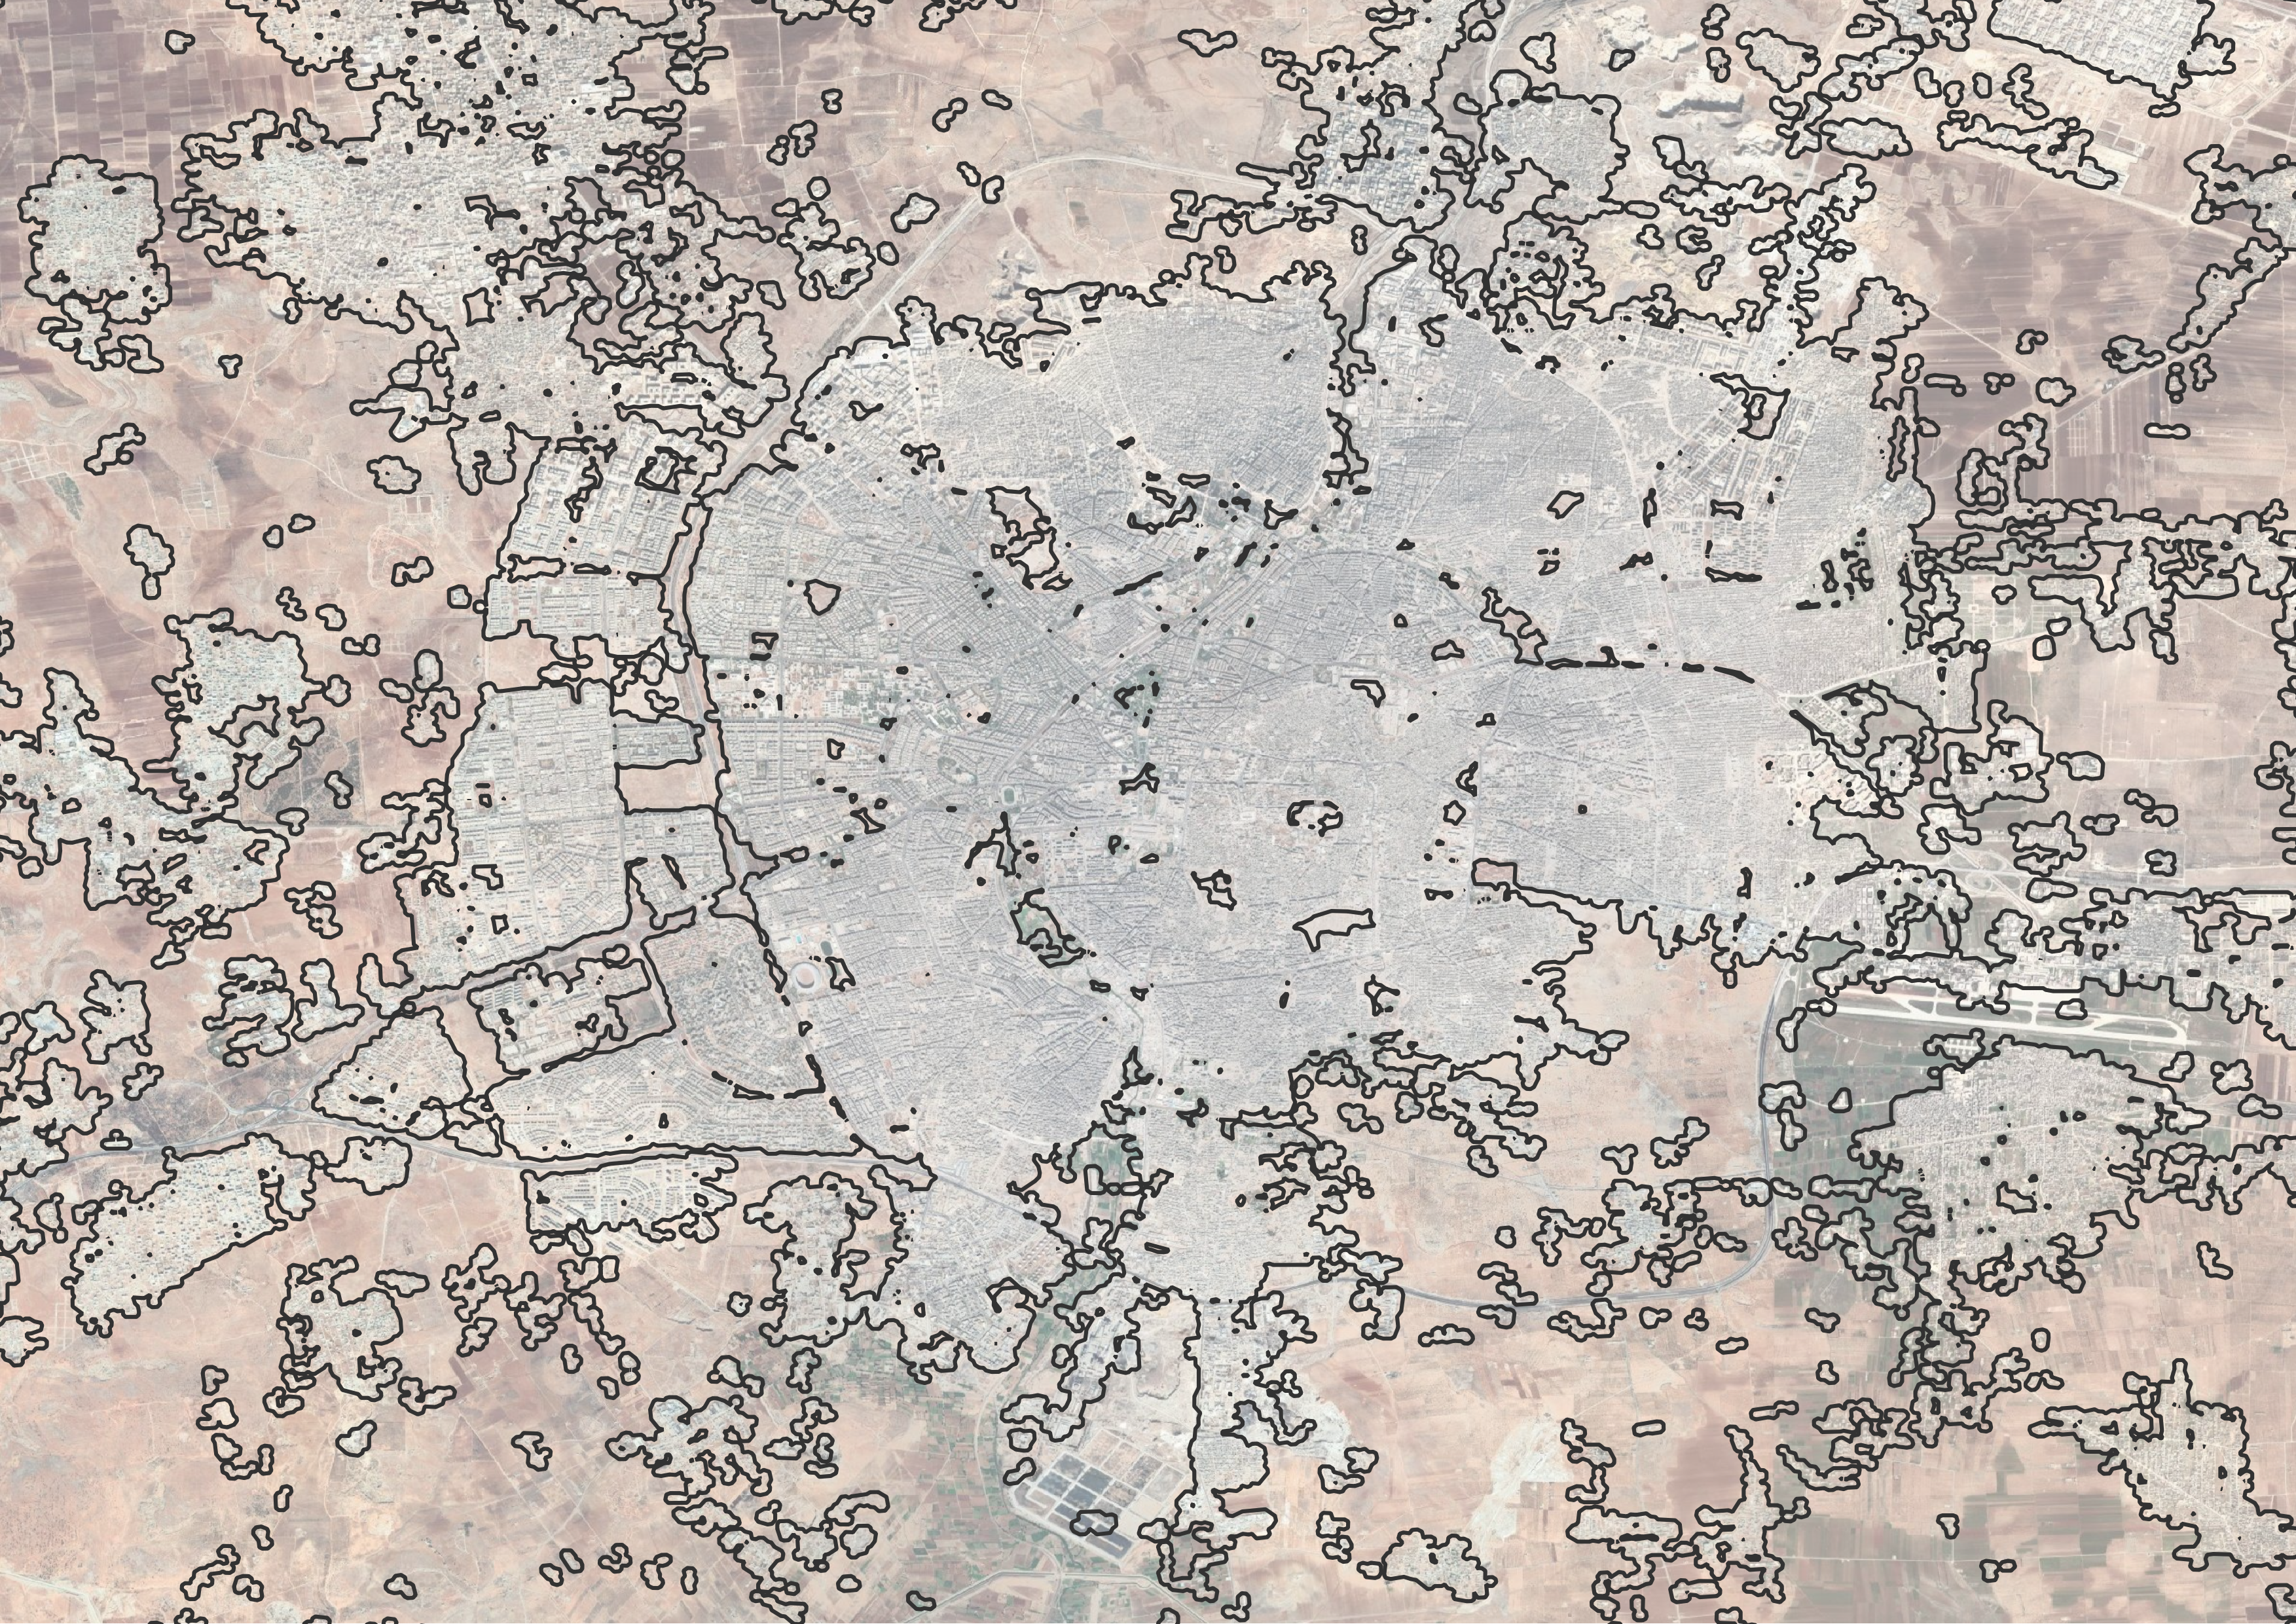
After clicking "OK" the layer symbology changes to a transparent fill and black stroke, allowing a satellite image layer to appear beneath the Built Up Settlement Map layer polygons (as seen in the image below).
Using with 3rd party data
It is possible to use the Built Up Settlement Map as a mask layer for clipping 3rd party raster data (for example, WorldPop's "Population Counts" layers) to built up settlement locations.
-
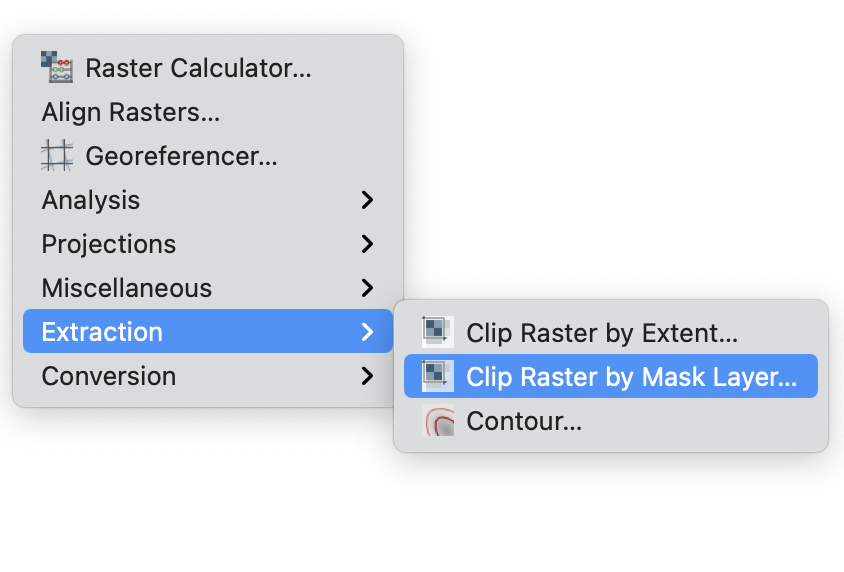
First, open the "Clip Raster by Mask Layer" window, located under "Extraction" in the "Raster" menu
-
Second, set the "Input Layer" to the raster layer (1), set the "Mask Layer" to the AHS Built Up Settlement Map layer (2), and click "Run" (3)
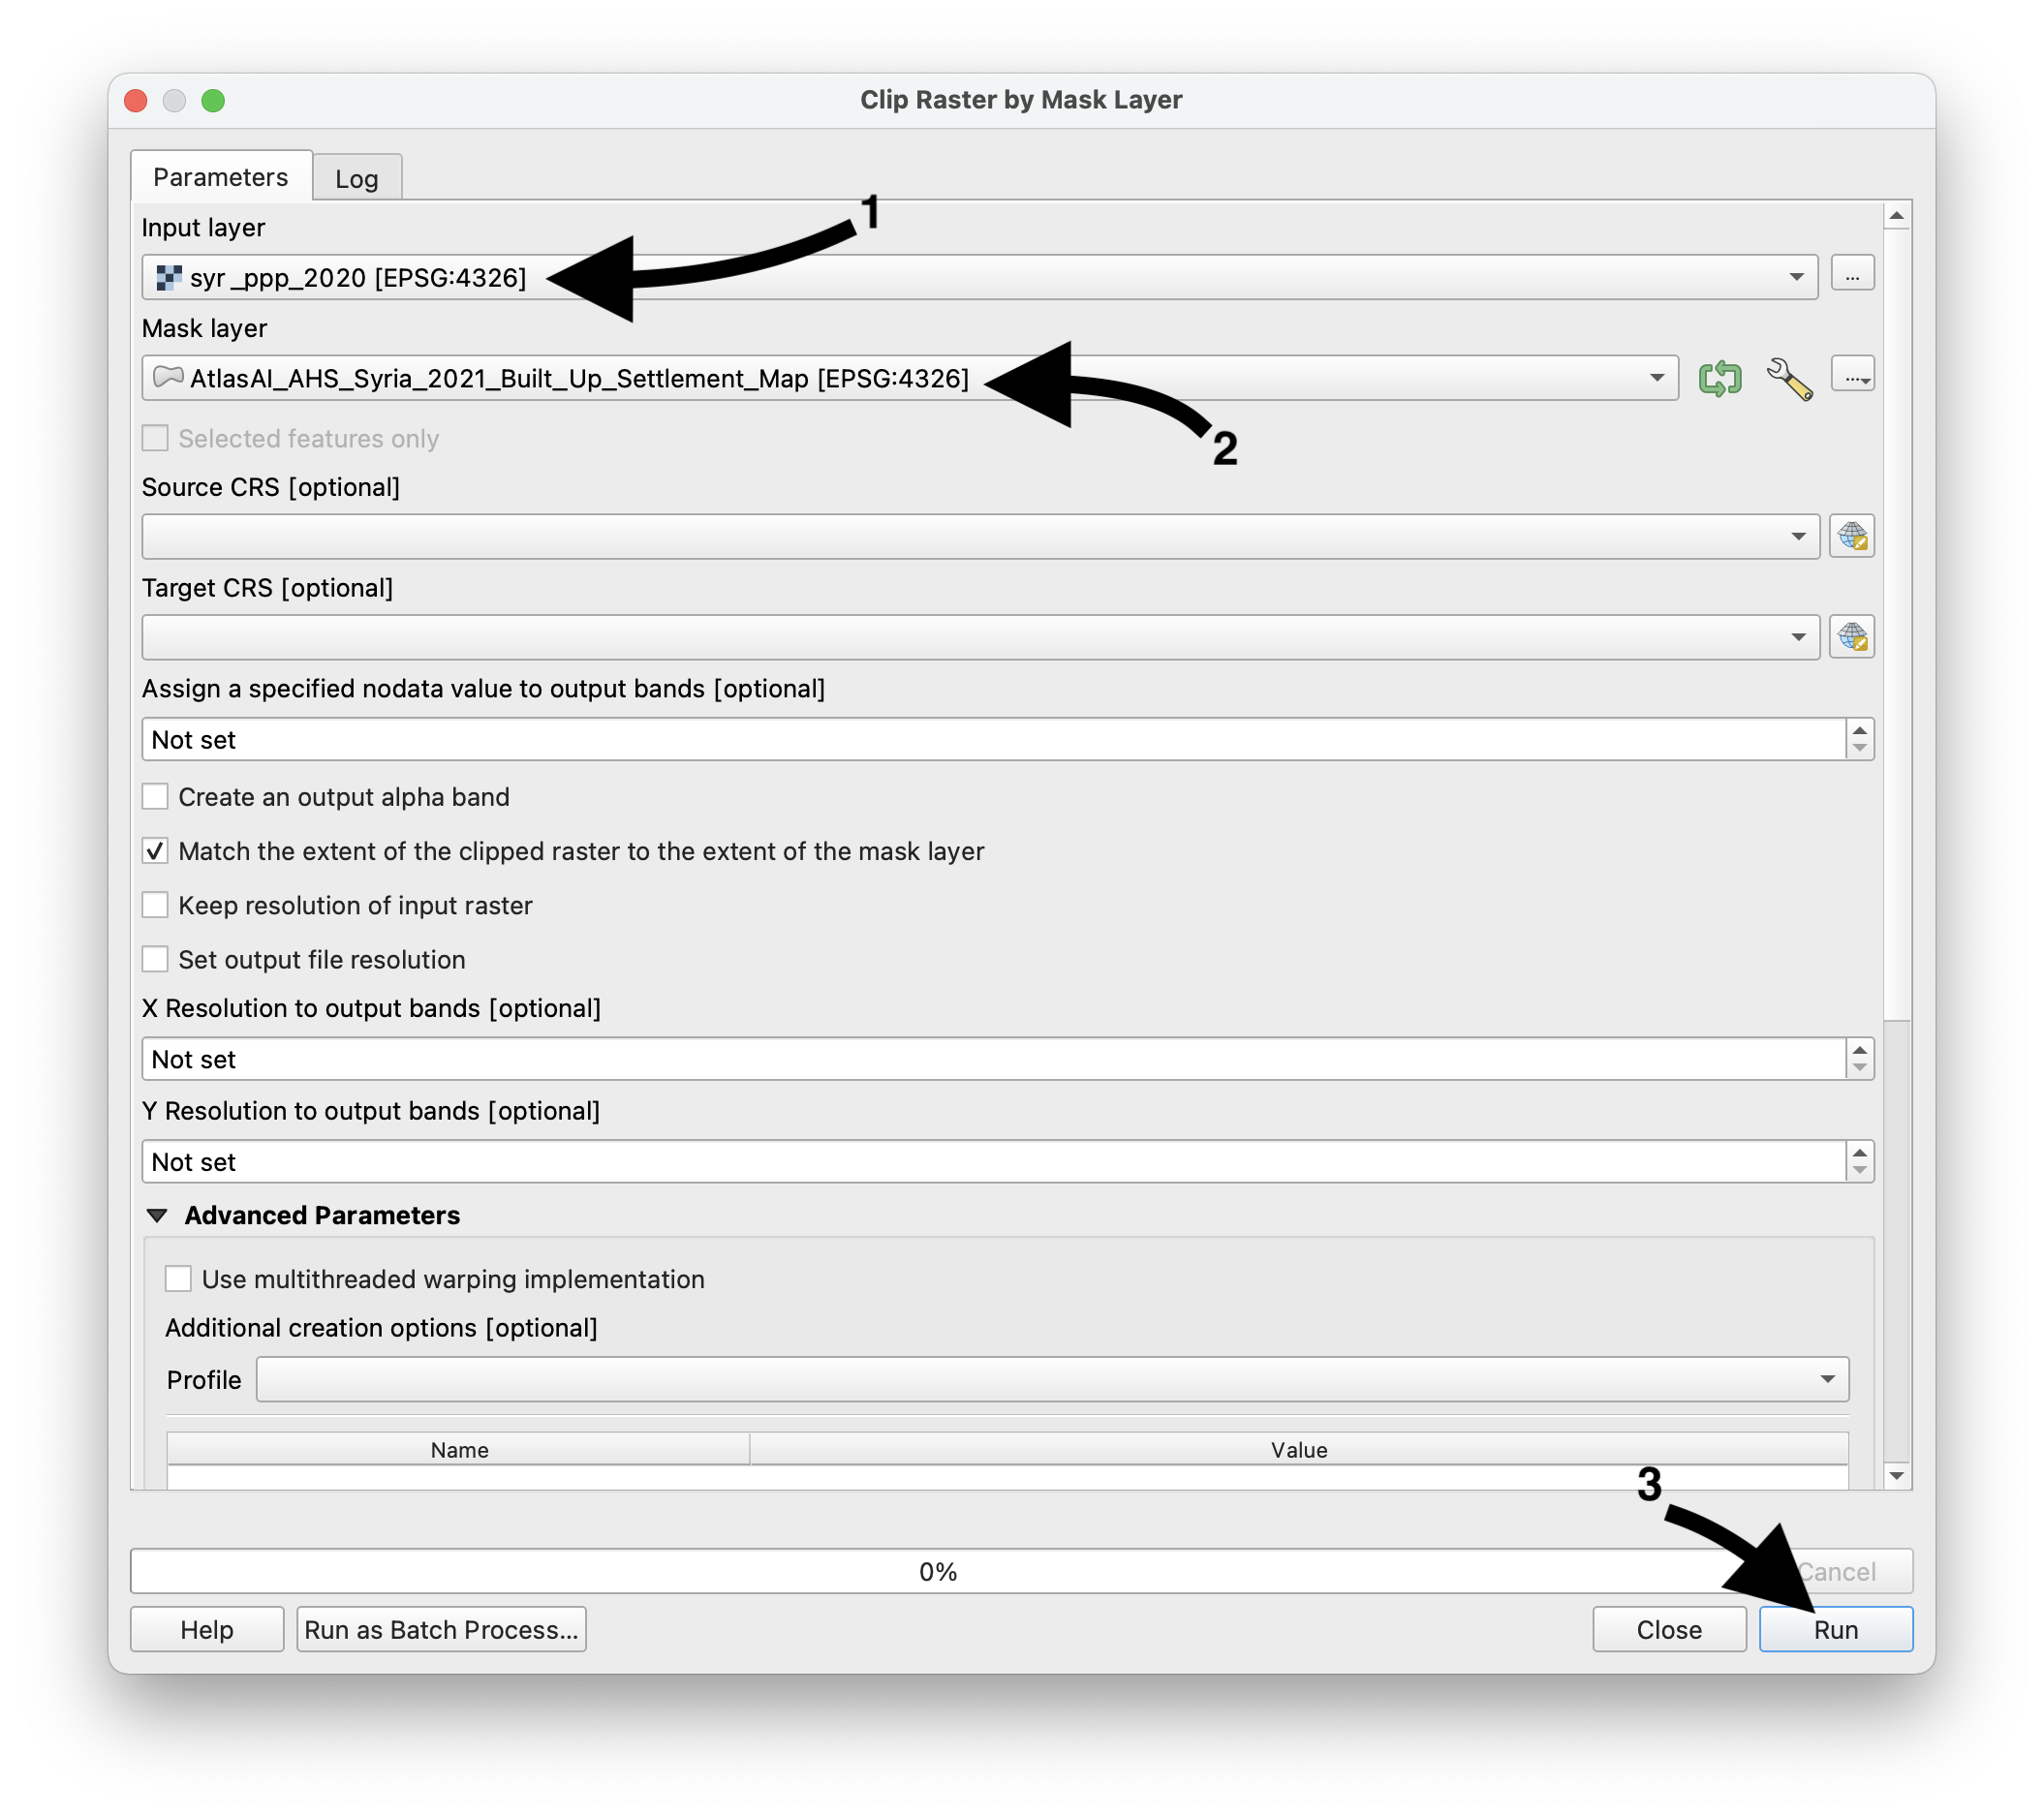
After clicking "Run" a version of the raster layer appears that is clipped to the Built Up Settlement Map polygons, effectively masking the population data to built up settlement locations only.